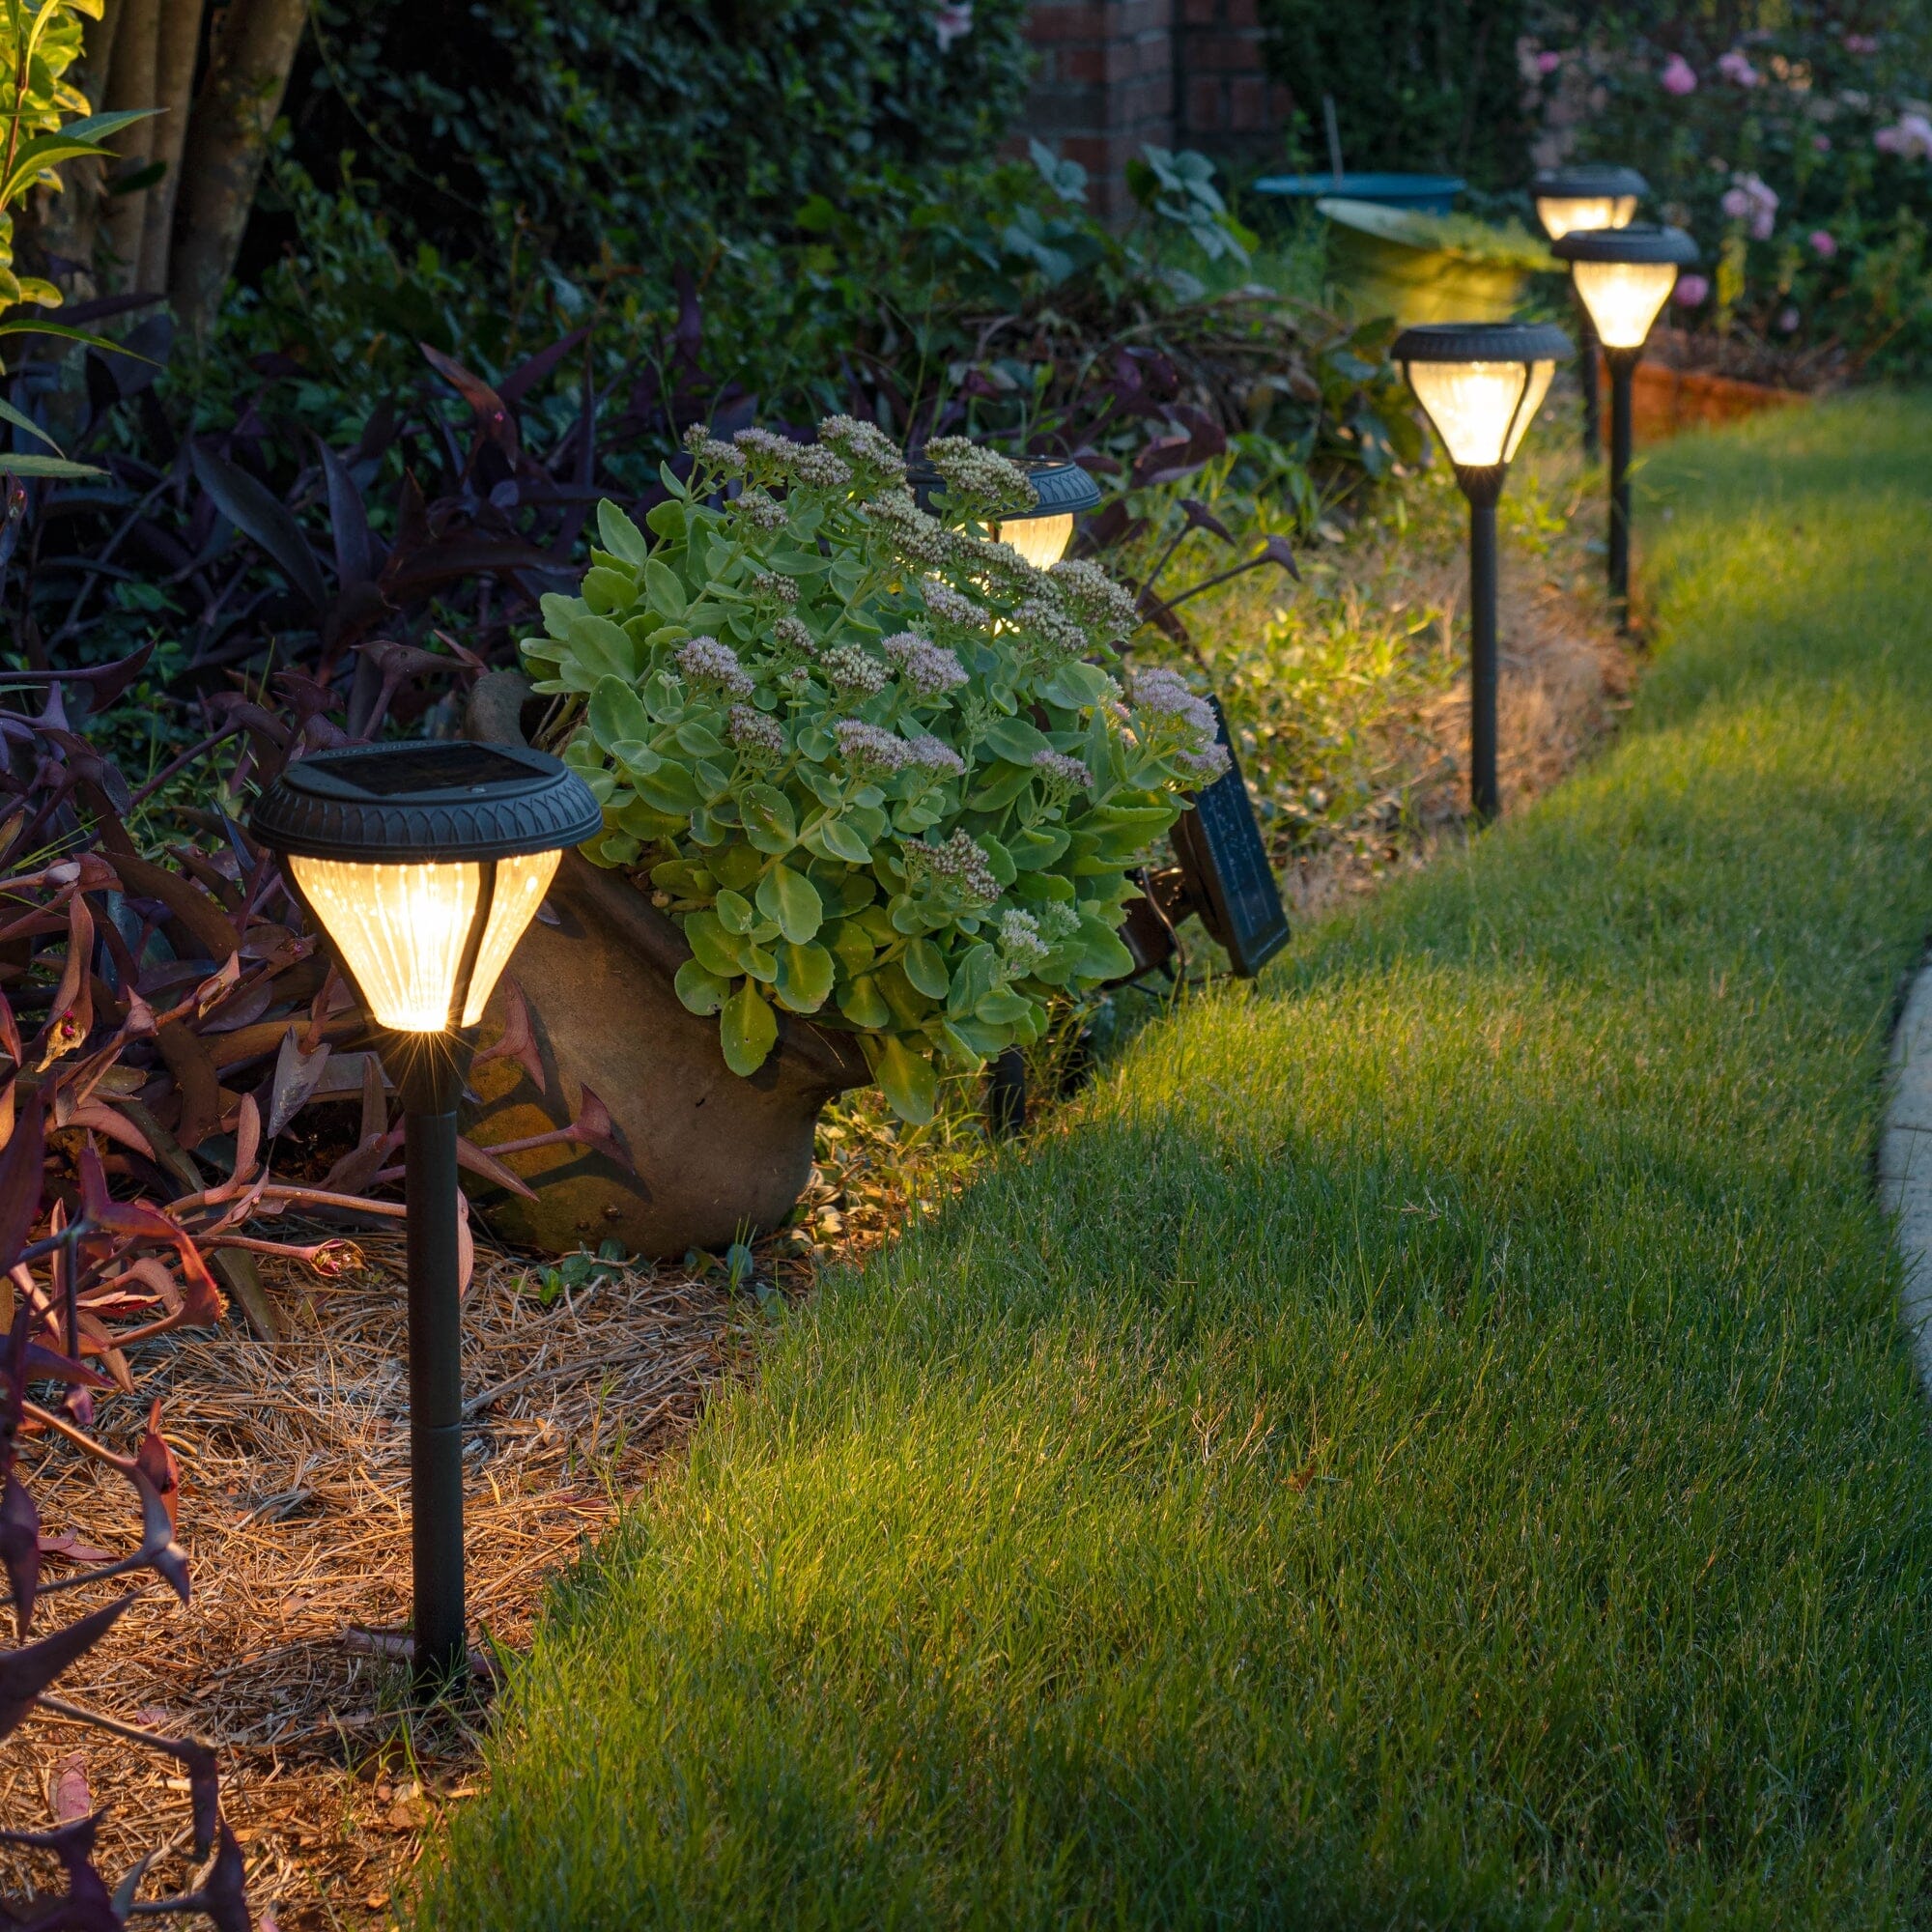
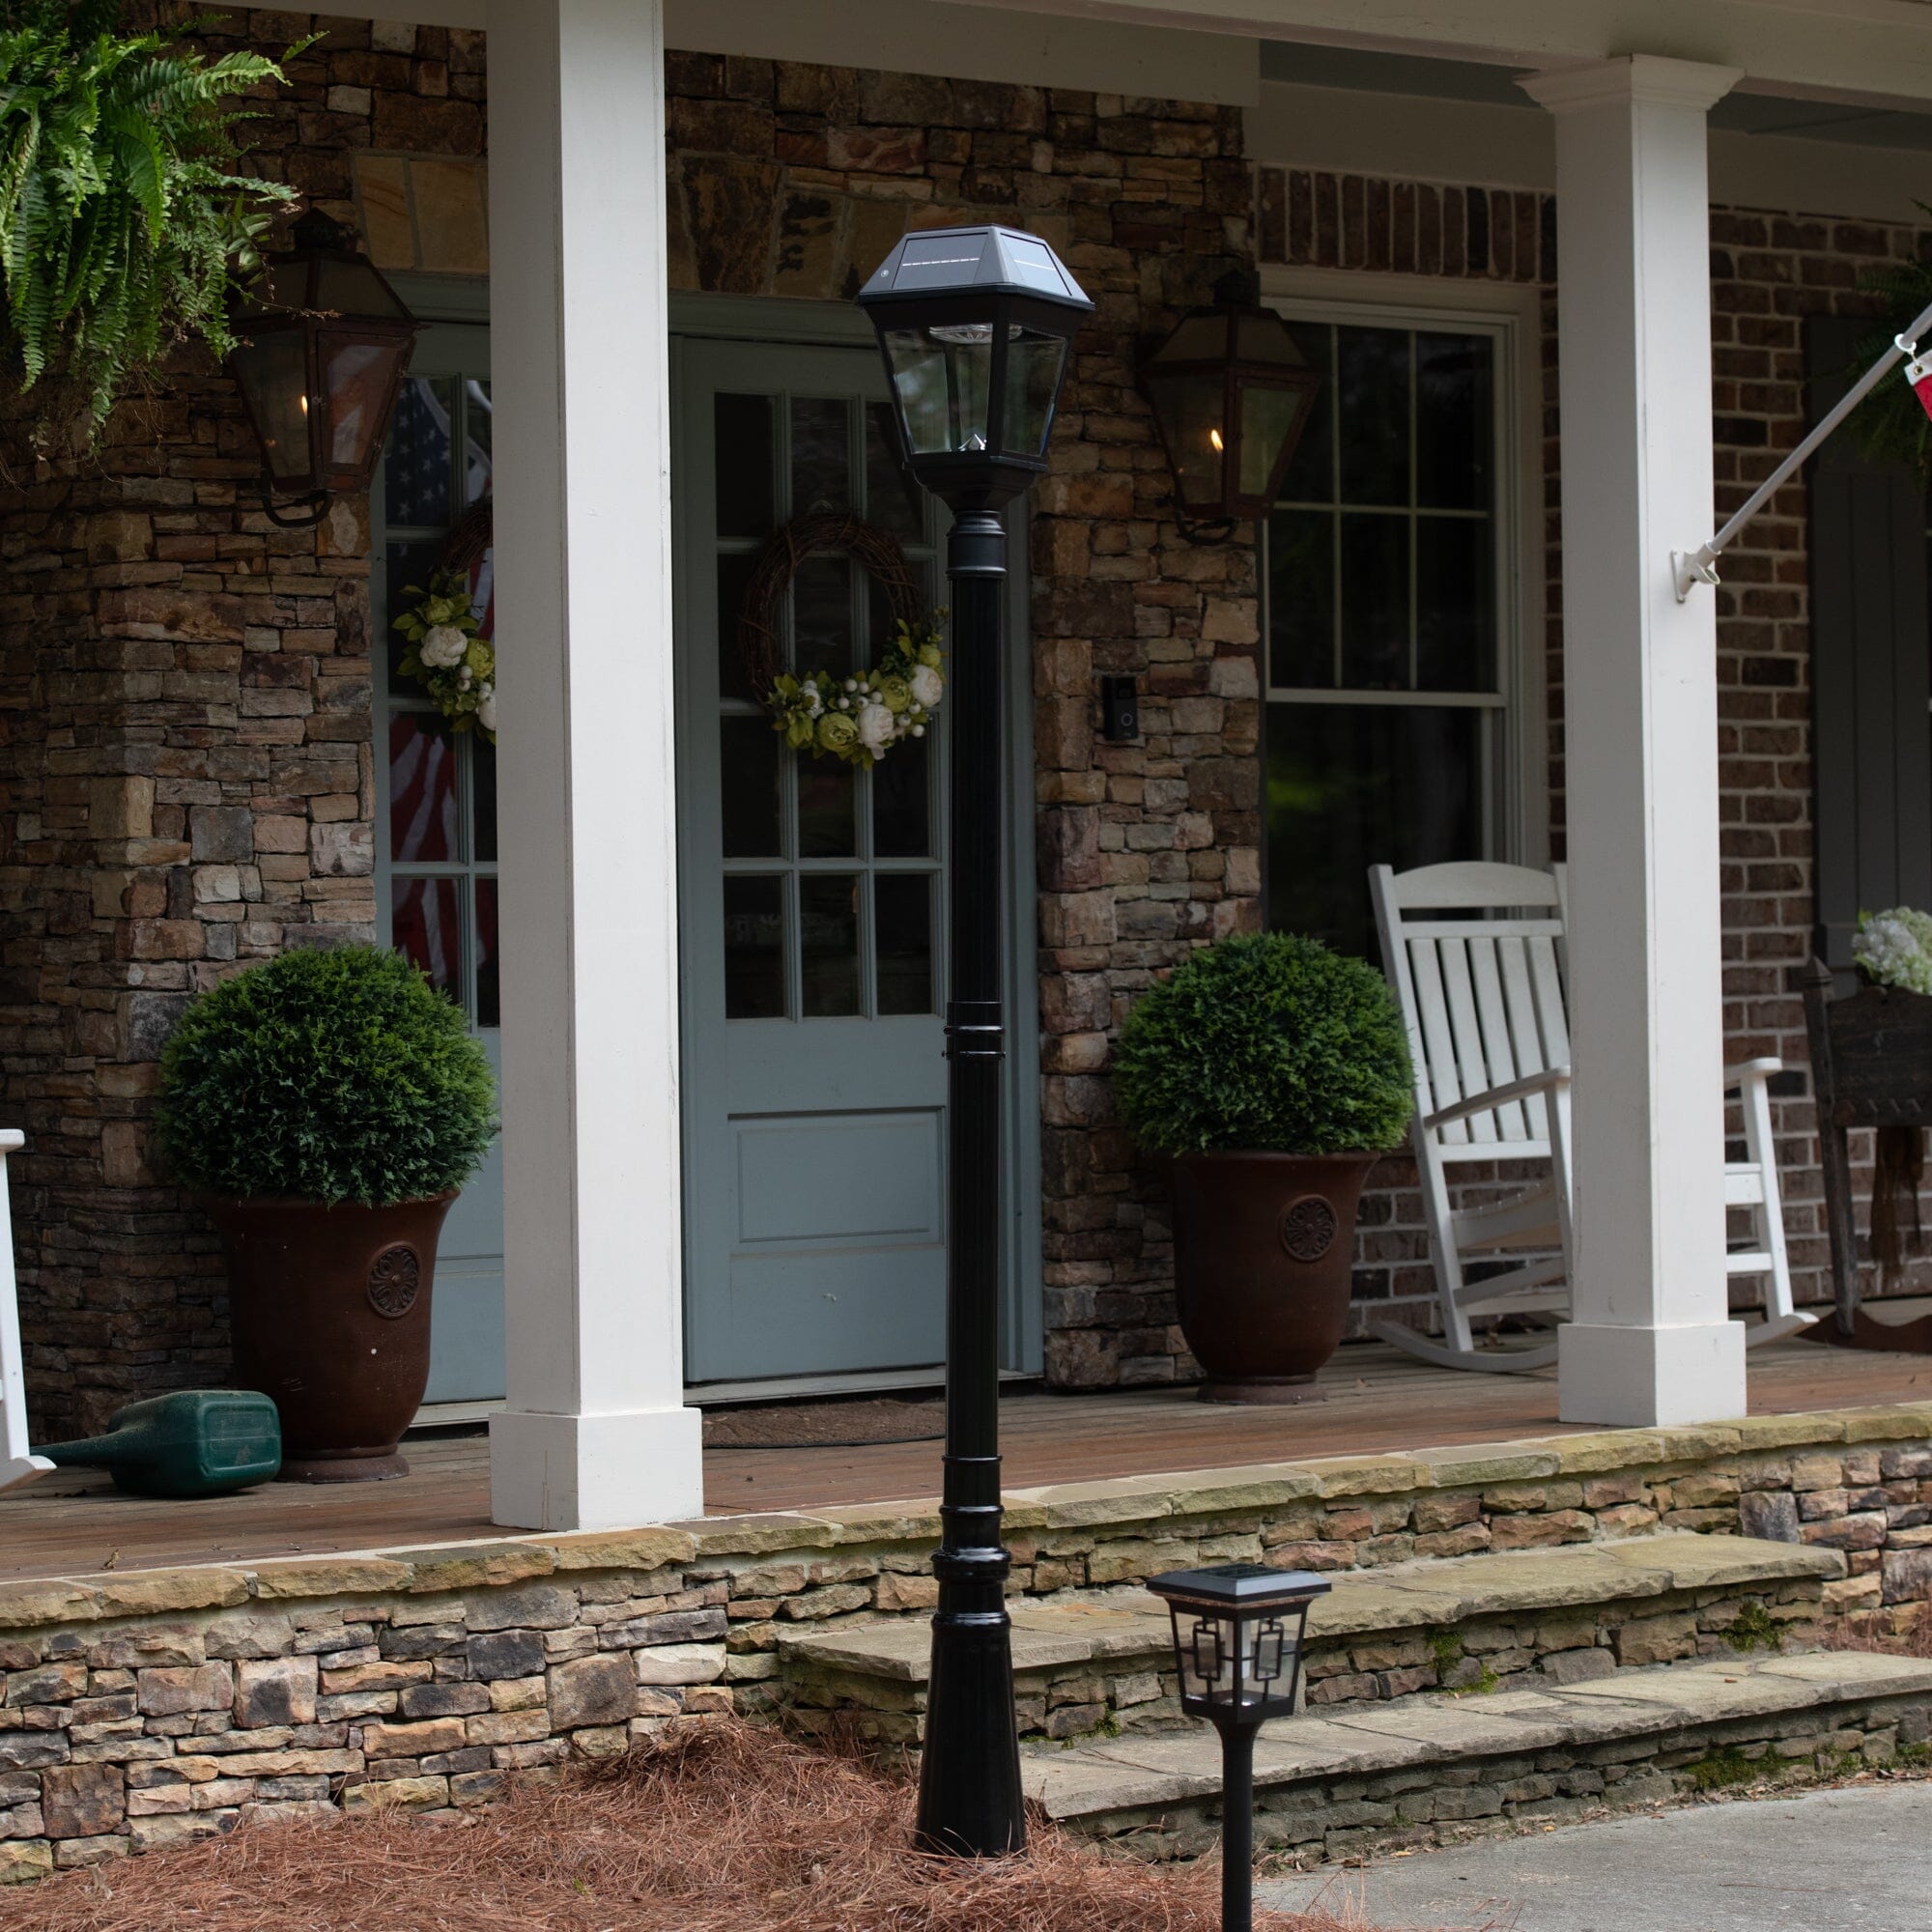
Whether you’re a homeowner looking to brighten your driveway or a business owner securing a parking lot, a solar street light can provide you with an excellent solution for illuminating your outdoor spaces. This technology provides you with powerful, reliable lighting while reducing your reliance on energy utilities. Read on to learn the process of how to install solar street lights properly so you can ensure they remain stable while providing you with optimal performance.
Gather Your Supplies
Before you begin installing your solar street light, gather all the necessary tools and materials to make the installation process smoother and safer. Typically, you will need the solar street light itself, your mounting pole, a concrete mix to create a solid foundation for the pole, anchor bolts, and a cage to secure the pole to your foundation.
As for tools, you will need a shovel for excavating the foundation hole, a level to ensure the pole is perfectly vertical, a supporting bench to set the pole temporarily, and wrenches for securing the nuts on the base. You may also need lifting equipment, such as a crane or bucket truck, for taller, heavier poles.
Don’t forget to wear personal protective gear like a hard hat during this process to keep you safe. You should also have a measuring tape on hand to ensure accurate placement and depth for the foundation.
Choose an Area With Ample Sunlight
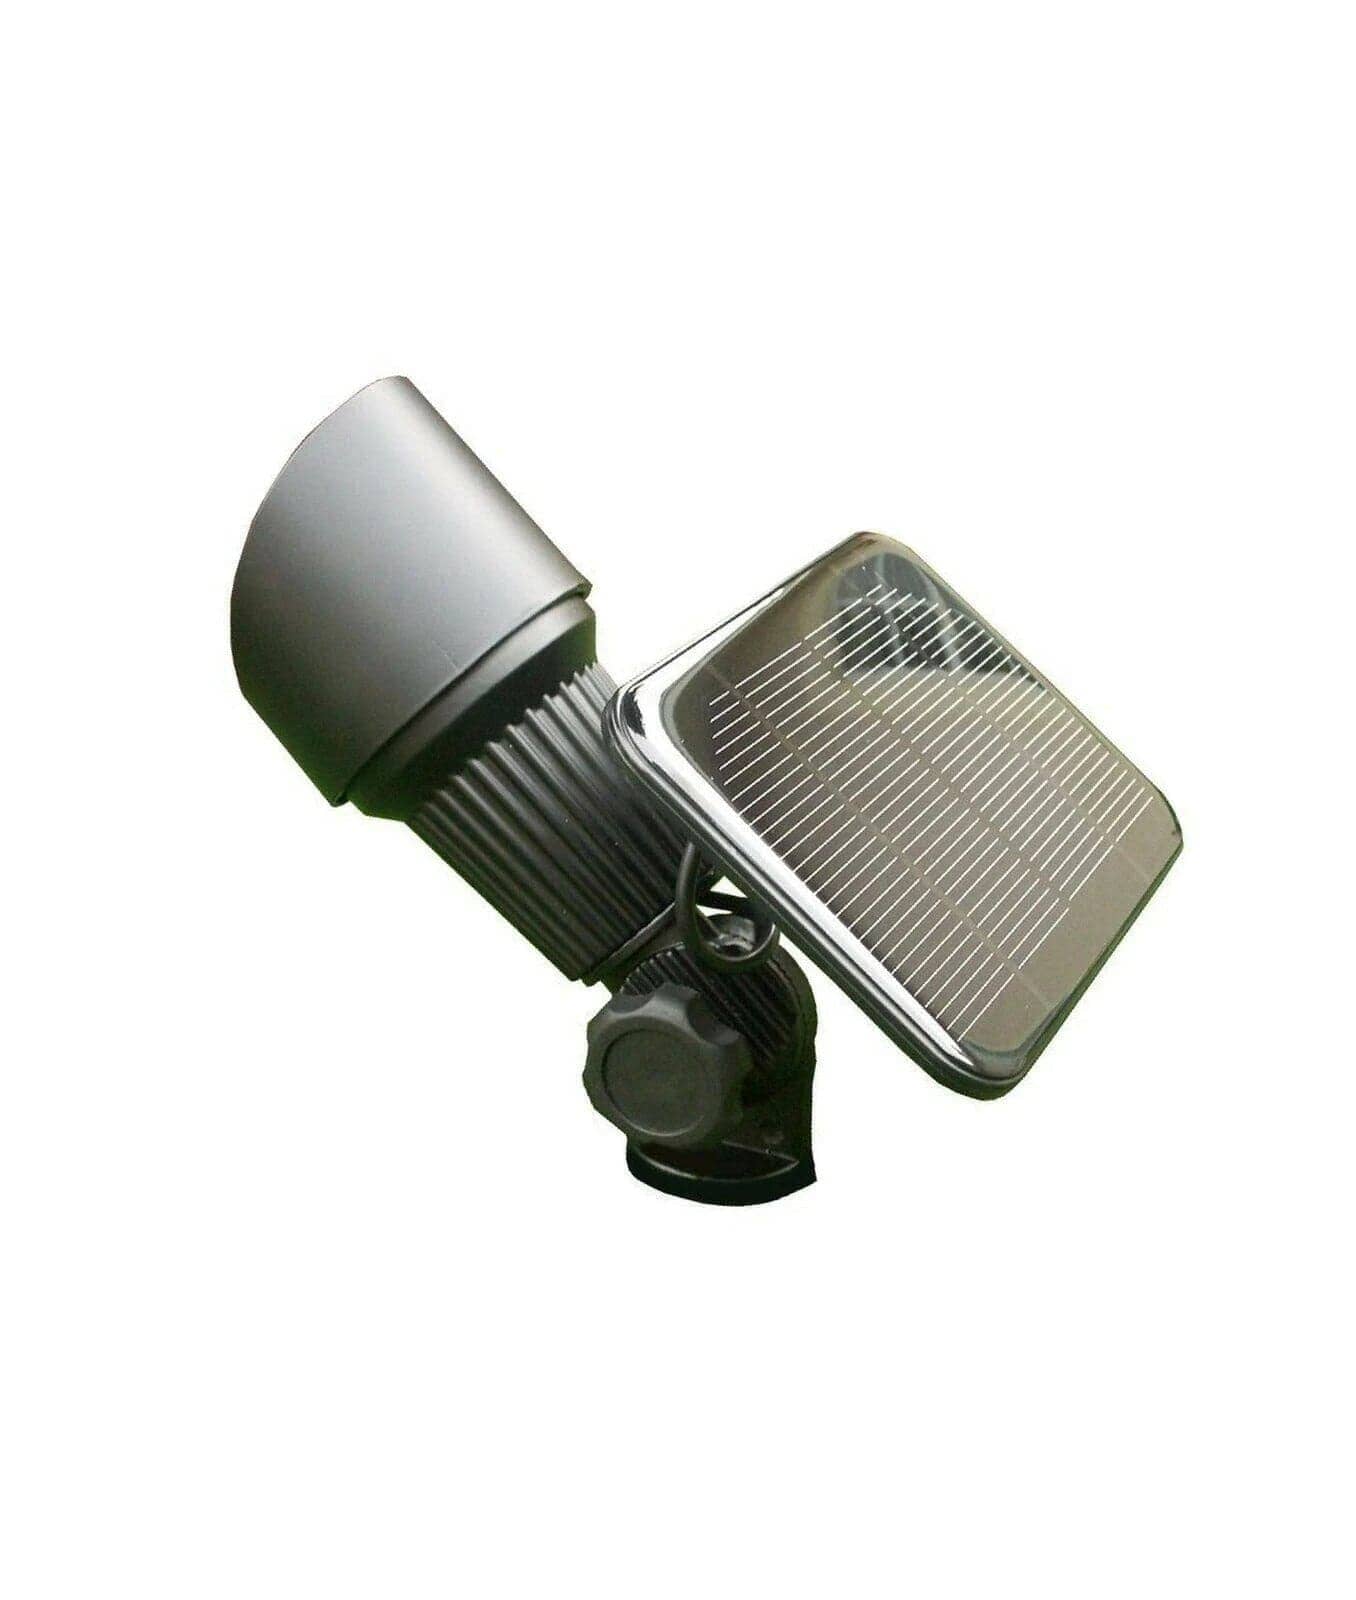
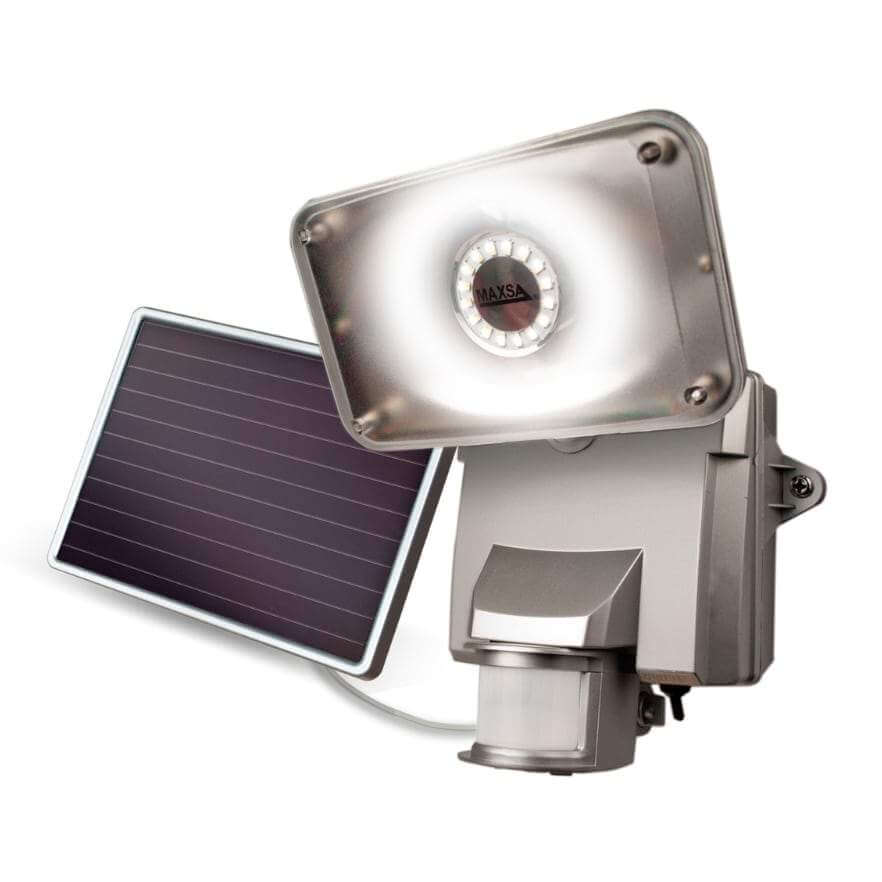
The performance of your solar street light depends entirely on its ability to capture sunlight. When the light’s panel gathers sunlight for energy, it stores it in the device’s battery so that it can shine at night. Therefore, choosing a location with maximum sun exposure is the most critical step in the planning process.
Walk around your property during different times of the day to observe how the sun moves across the sky. You will want to find a place that clearly receives sunlight without anything blocking it. Even partial shading can significantly reduce the panel's efficiency, leading to poor lighting performance.
Pick an Appropriate Pole

The pole is the backbone of your solar street light installation. It needs to be the right height for your lighting needs and strong enough to support the fixture, especially in high winds or harsh weather.
Manufacturers often make poles from steel, aluminum, or fiberglass. Steel is robust and durable, making it a popular choice for commercial applications. Aluminum is lighter and more corrosion-resistant, which makes it ideal for coastal areas. Meanwhile, fiberglass manages to be both lightweight and rust-free but has a shorter lifespan than aluminum.
It’s also important to note that the height of the pole will influence the light's coverage area. While a taller pole spreads light over a wider area, it does so with less intensity on the ground. Additionally, always ensure that the pole's diameter and wall thickness have ratings that can handle the weight and wind load of your specific solar light fixture.
Create a Level Foundation
Another critical step in installing solar street lights properly is ensuring you have a strong, level foundation. Use a measuring tape and stake out your chosen area, then mark the center where you’ll dig the hole. Ensure the ground is free from loose soil, roots, and large rocks, as these can compromise the stability and longevity of your foundation.
It’s a good idea to check local laws before digging the hole so that you don’t dig one that goes against your area’s regulations. After performing your research and digging, use a spirit level to check that the bottom of the hole is as flat as possible. This step is easy to overlook, but it makes a big difference—an uneven base can cause the pole to tilt or even become unstable over time.
If you encounter soft or sandy soil, consider reinforcing the hole’s base with compacted gravel before pouring your concrete mix. Taking the time to establish a solid foundation now means your solar street light will stand tall and true for years, providing you with reliable illumination and peace of mind.
You will also need to assemble the anchor bolt cage and place it in the hole, ensuring it is level and centered. As you add your mixed concrete, ensure the threaded ends of the bolts of the cage protrude from the top. Take the time to let the concrete set completely.
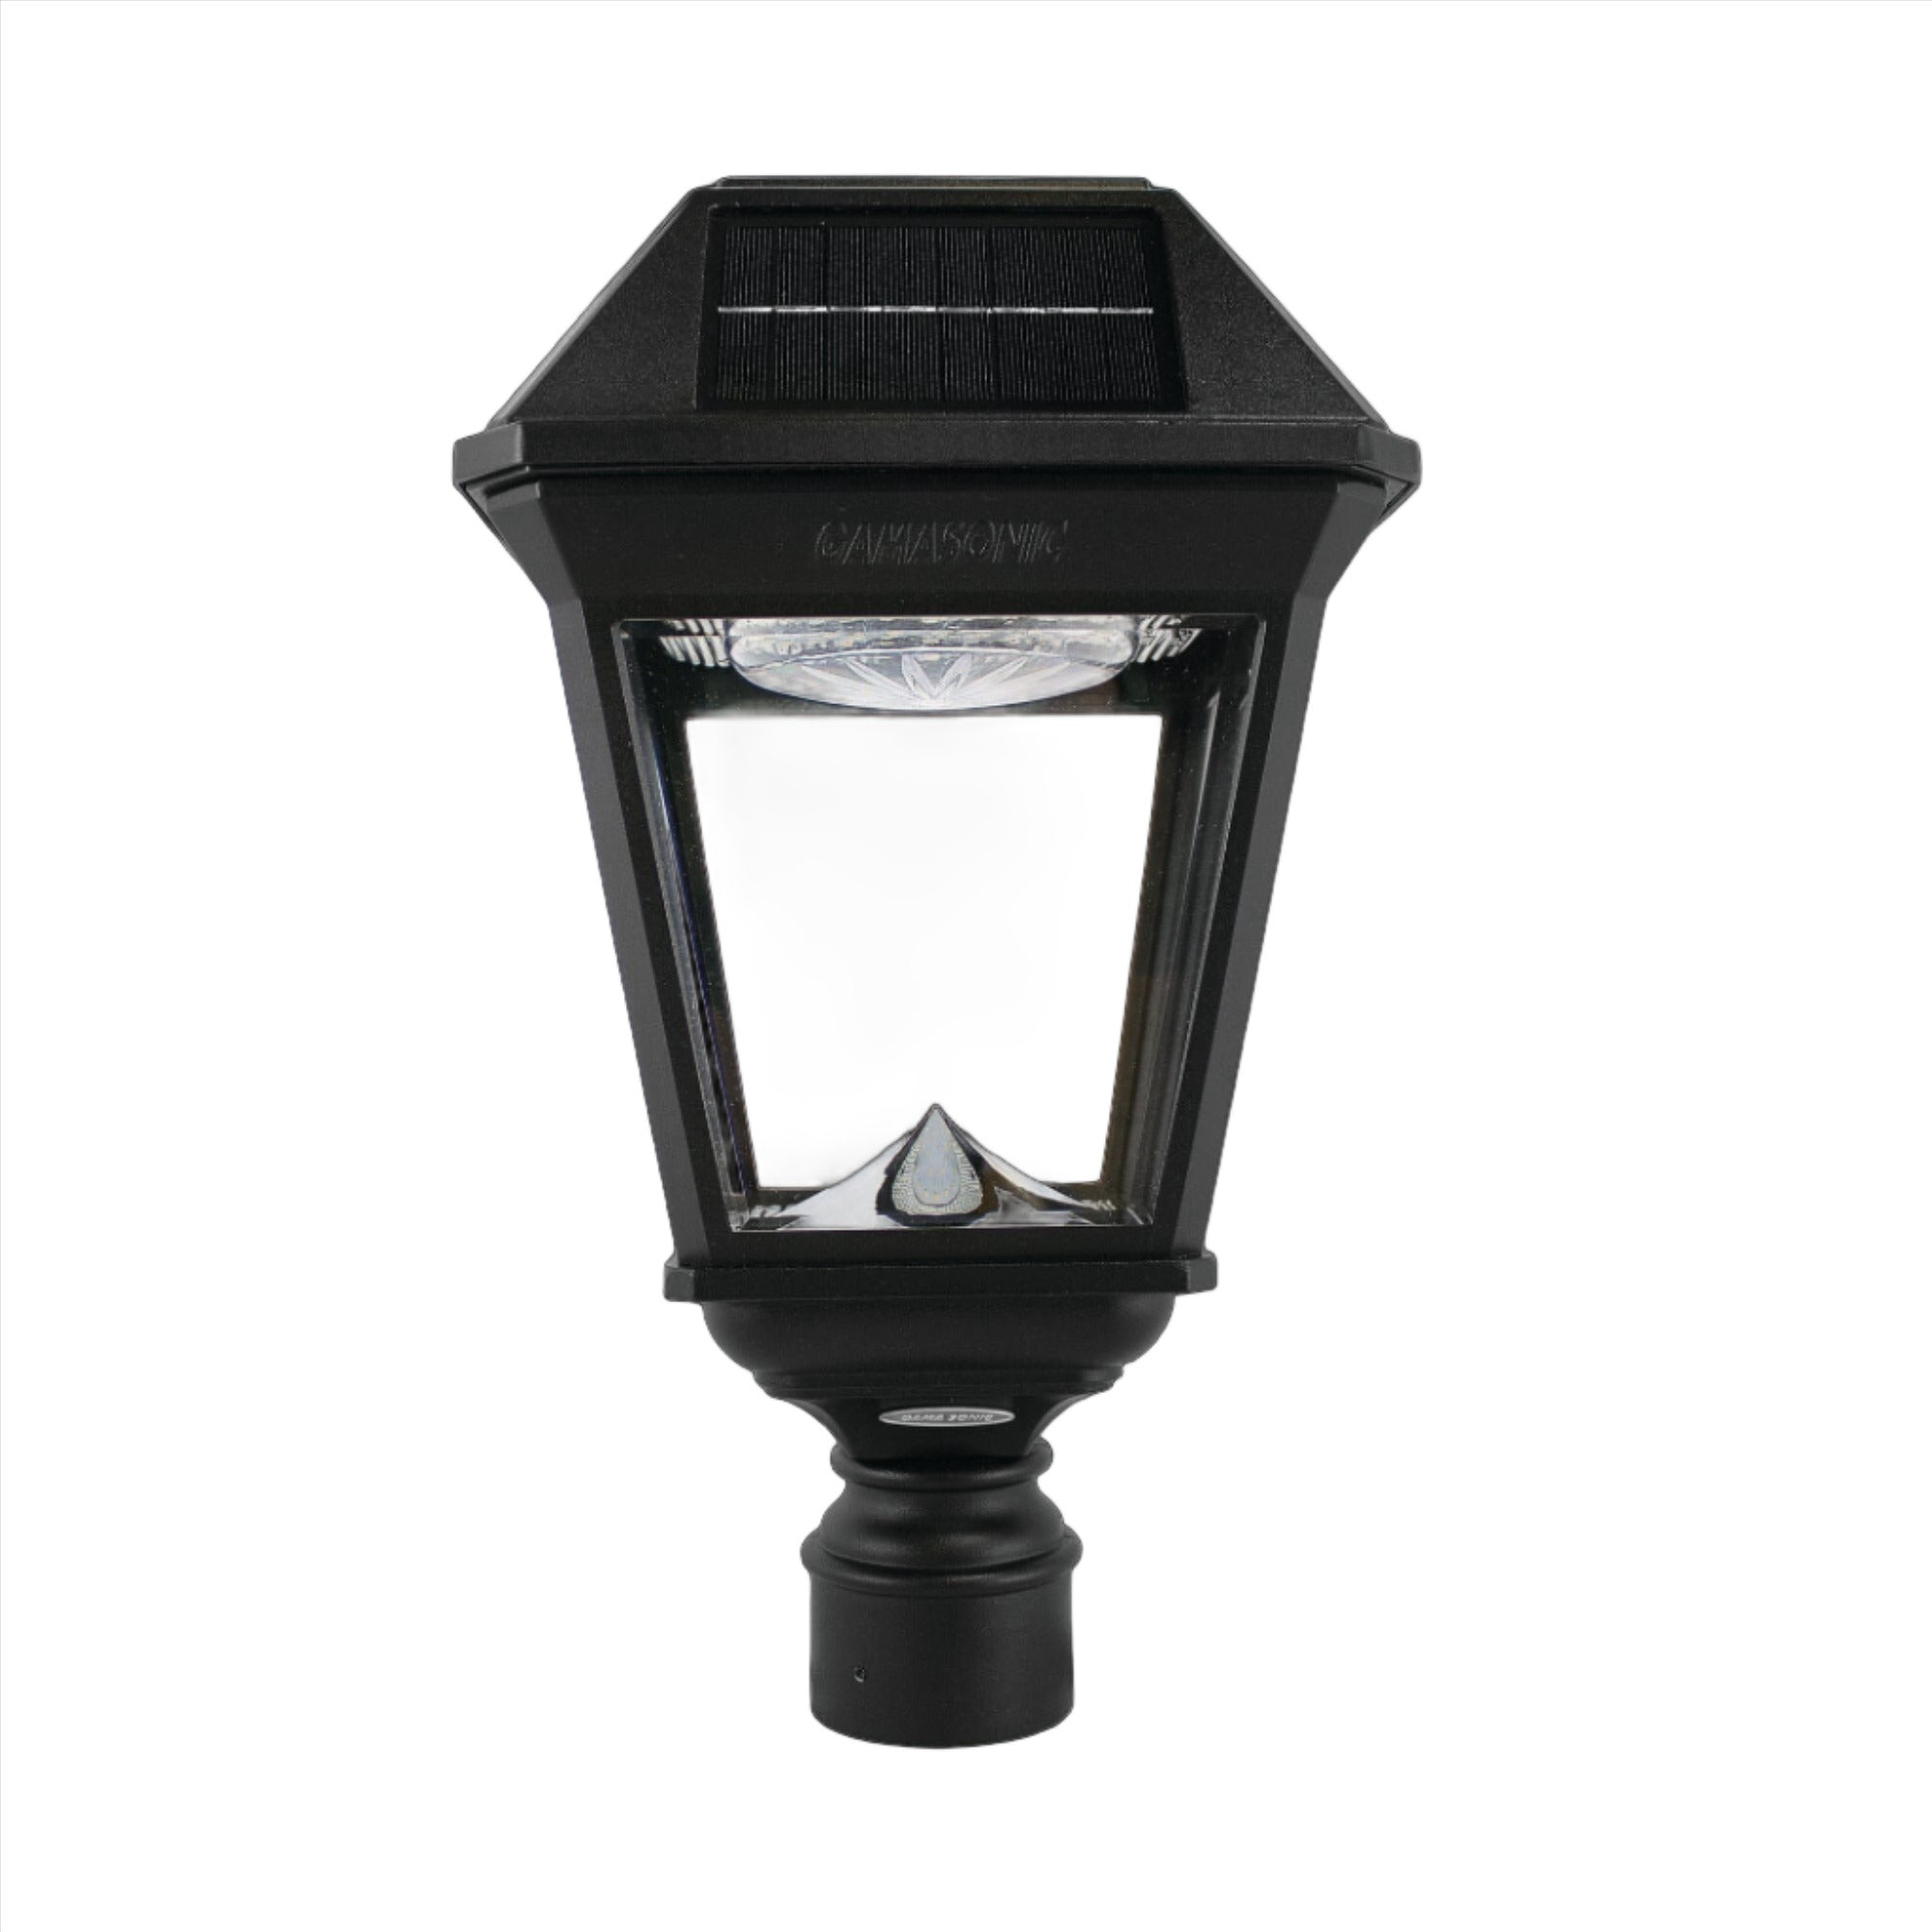
Install the Fixture on the Pole

It is much safer and easier to mount the solar light fixture onto the pole while the pole is still on the ground. Lean the pole on a supporting bench and then mount the light on top of it securely with the help of a mounting bracket.
Before raising it, test the light to ensure everything is working correctly. It's far easier to troubleshoot a problem on the ground than it is once the pole is 20 feet in the air. To test the light during the day, you'll need to simulate darkness. Cover the solar panel completely with a thick, dark cloth or a piece of cardboard.
This will trick the light's sensor into thinking it's nighttime, and the light should turn on within a few moments. If it turns on, you know that it works. If it doesn’t, consult the troubleshooting section of your manual. Once you confirm it works, remove the cover from the solar panel, and the light should turn off.
Attach the Pole to the Foundation
With the fixture mounted and tested, it’s time for the final and most physically demanding step: raising the pole and securing it to the foundation. For taller, heavier commercial poles, this step requires specialized equipment, such as a crane.
Carefully lift the pole and guide its base plate over the anchor bolts. Secure the pole by placing washers and nuts on the anchor bolts and tightening them in a star pattern. Use a level on all sides of the pole as you tighten to ensure it is perfectly vertical. Once the pole is secure and plumb, your installation is complete.
When you follow these steps carefully, your new solar street light will provide you with bright and free illumination each night. Completing this task with care ensures a professional-quality installation that will last for years to come.
Outdoor Solar Store can provide you with high-quality solar street lights that will make your property safer at night, as well as more visually appealing. Reach out to us today to learn more about how our products can withstand inclement weather and provide the benefit of a simple installation.